Great writeup by Bob Borson on building a shower that won’t leak.
Author: Ben
A creepy fun look at what happens when you turn the page.
The Essential Woodworker for $10
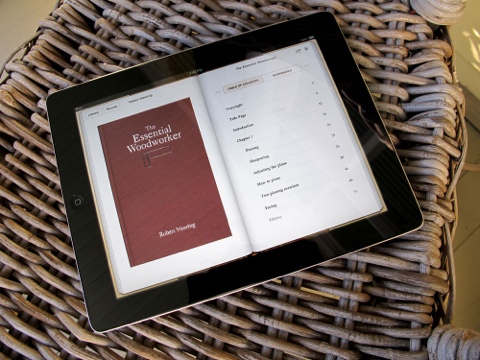
If you have any interest in hand work in woodworking, a wonderful introduction is The Essential Woodworker by Robert Wearing. This formerly out-of-print book was brought back by Lost Art Press a while back and is now being offered as a DRM-free ePub for $10 with a Kindle version coming soon.
This book is my go to reference whenever I have a question on how to build a piece of carcase furniture. It also includes some nice exercises to help learn essential hand tool skills, like planing a board flat and sawing accurately. It’s finely written, well edited and quite clear. For $10, you cannot go wrong.
The hard cover edition is also available for $23.
Two New Vises
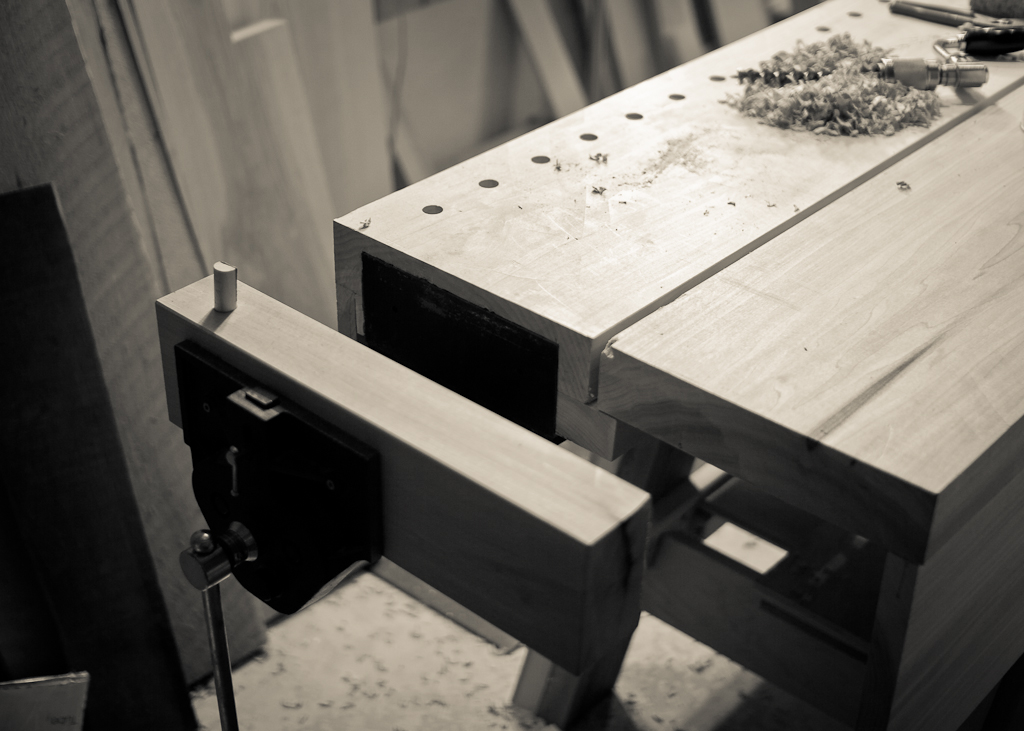
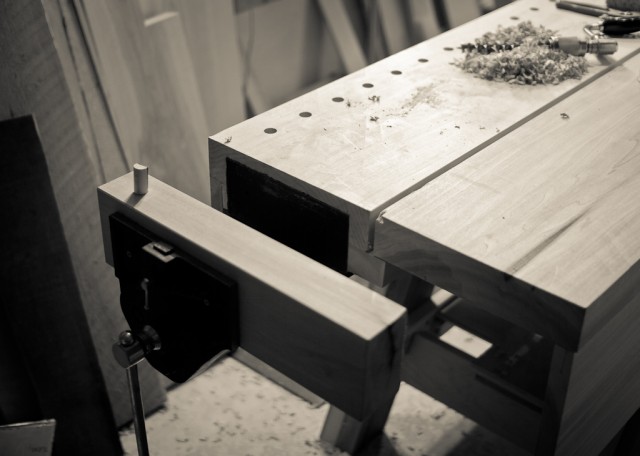
While my bench has been useable for a while now, I’ve wanted to add a tail vise to help when milling up stock. When milling by hand, you have to be able to go across the board, perpendicular to the grain, diagonal to the grain, and along the grain with your planes. While I can get this done with a planing stop and battens, a tail vise and dogs make it really easy.
After I scabbed on a spacer block, I chiseled out the mortise for the inner vise plate, so it would sit flush(ish) with the end of the bench. Word to the wise, don’t do this with a 1/4″ mortise chisel; it takes a couple of hours.
Next, I attached the vise and made up a quick chop from some 12/4 poplar left over from the bench top.
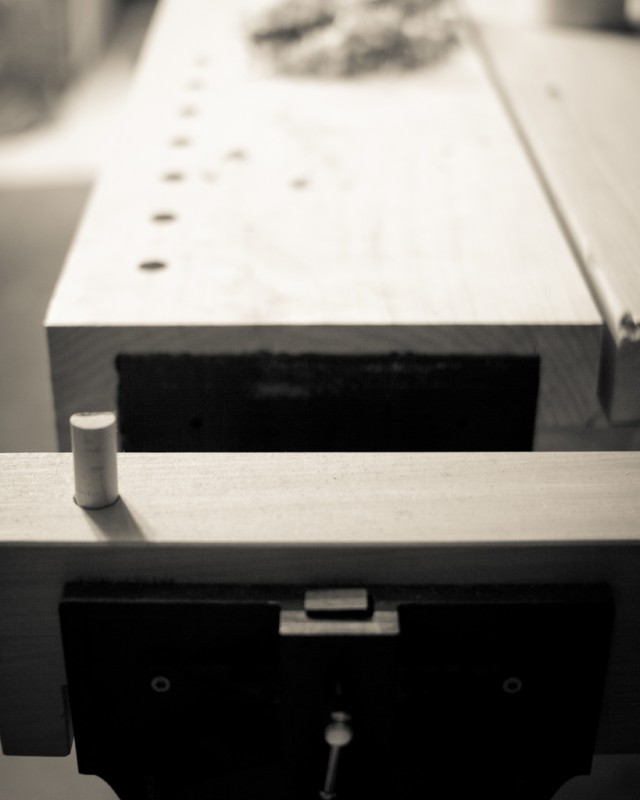
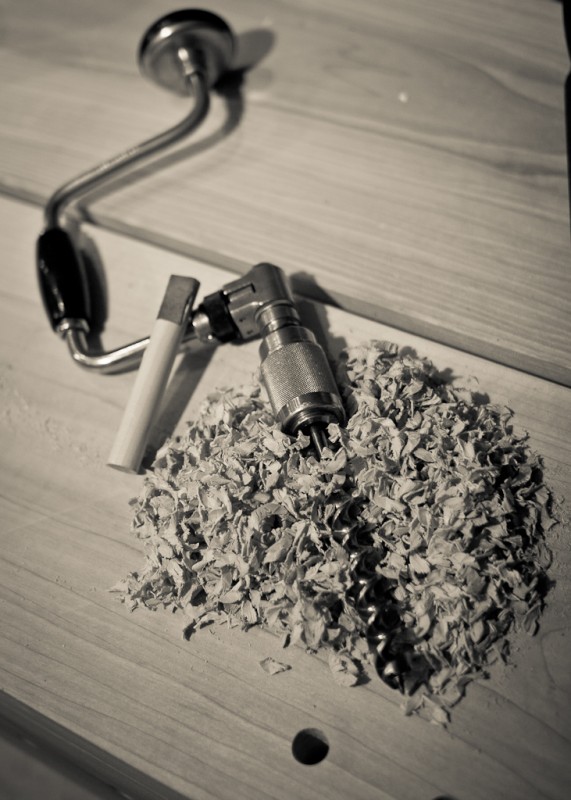
All that was left was to drill the dog holes and make some dogs to go in them. I ordered some 3/4″ maple dowel and it showed up a bit oversize. Sadly, oversize means it doesn’t fit, so I had to break out the 80 grit and atomize a couple hundredths of an inch of maple. Fit with a bullet catch, a small leather face, and a coat of wax, the dog is ready to go.
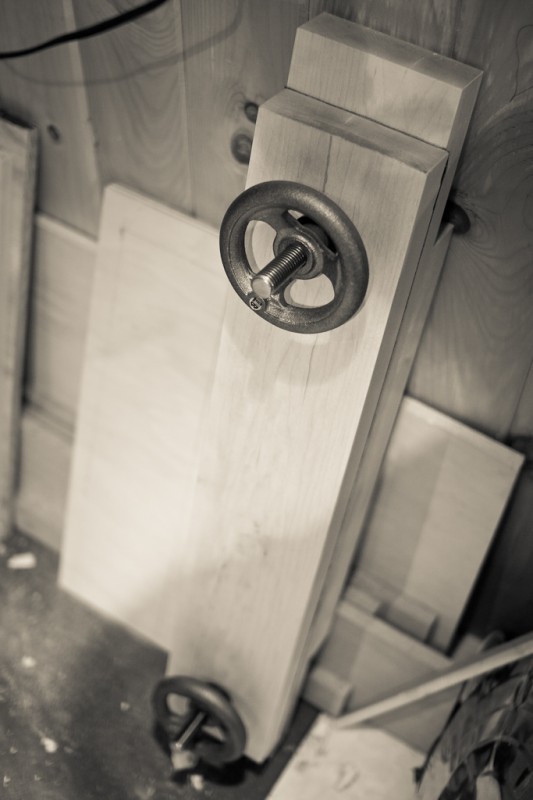
I had mentioned two new vises. The other is my edition of a Moxon with hardware from Benchcrafted. This build is really pretty simple, though you do get to practice a bit of fancy mortising for the nuts. Next time, I’d hold the nuts down with a holdfast while marking them. They shifted a bit under finger pressure and things got a bit sloppy. Still works though. Oh, and I’d gang up the two pieces when drilling the through holes. That way, any slight deviation from plumb and square carries through. Or I’d use a drill press. Still, a damn pretty bit of kit and it works beautifully.
Sharp Solves Everything
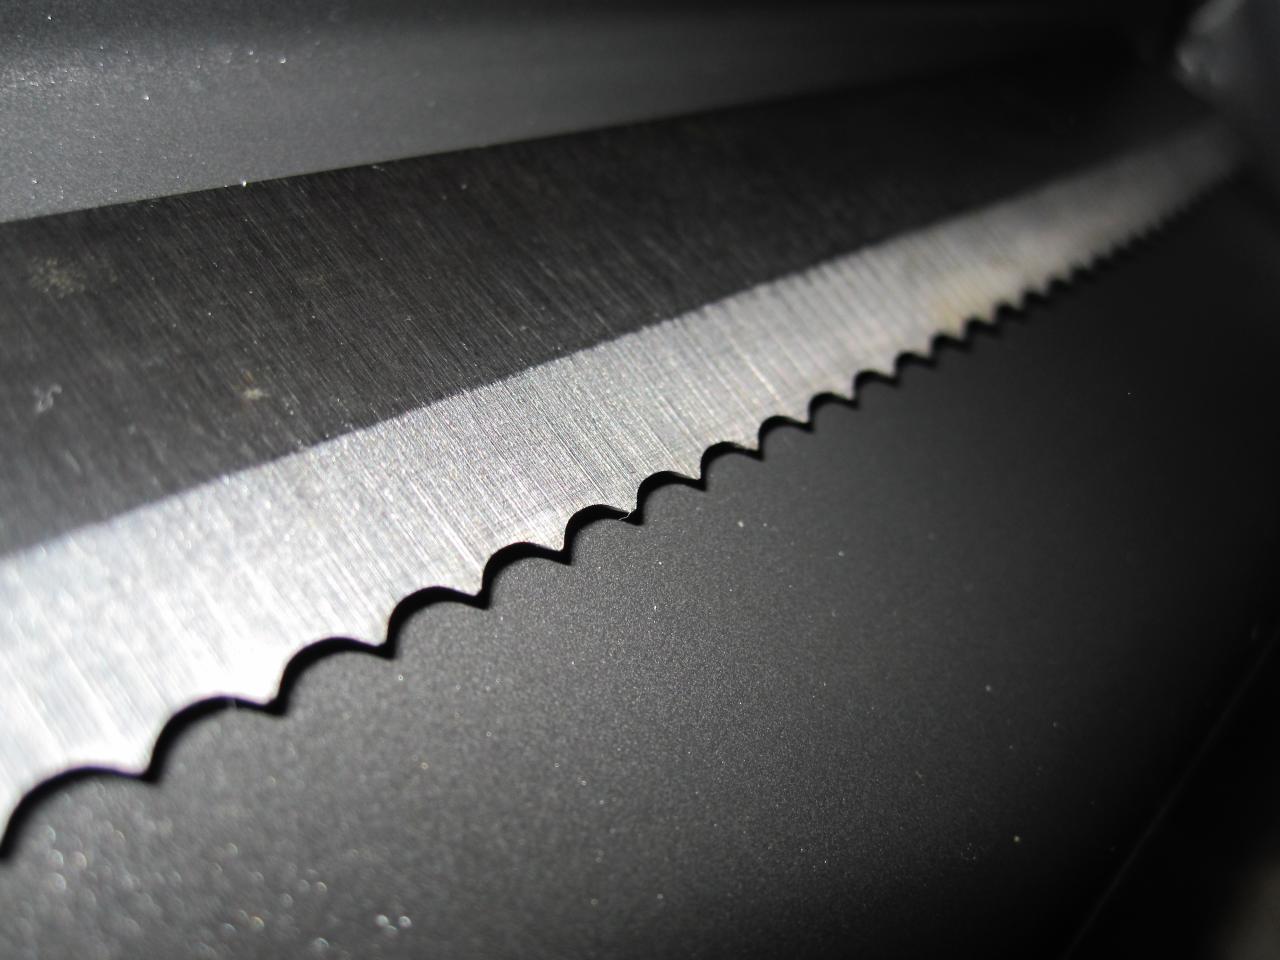
One of the first things you run into with both woodworking and cooking is figuring out how to keep your tools sharp. Chisels, saws, planes and knives all get dull after using them for a bit and need to be sharpened to perform well. Lots of people, myself included, start off pretty confused about sharpening, but if you’re willing to spend some time learning and practicing, sharpening tools is actually quite easy.
Now, I’m not about to launch into a diatribe on how to sharpen things. Many others have already done that, so I’m just pointing out what helped me get over the hump.
First, Christopher Schwarz’s video The Last Word on Sharpening is a great place to start for general sharpening. He explains the various sharpening tools you’ll need and how to use them to get back to work.
Second, if you’re using hand saws, Ron Herman’s video Sharpen Your Handsaws is the place to start. I use Ron’s technique to sharpen my handsaws and have had great results.
Last, neither of these guys talks about sharpening kitchen knives, but once you know how to sharpen a plane blade or a chisel, a knife is child’s play.
(and no, I’m not being compensated for either of these recommendations)
