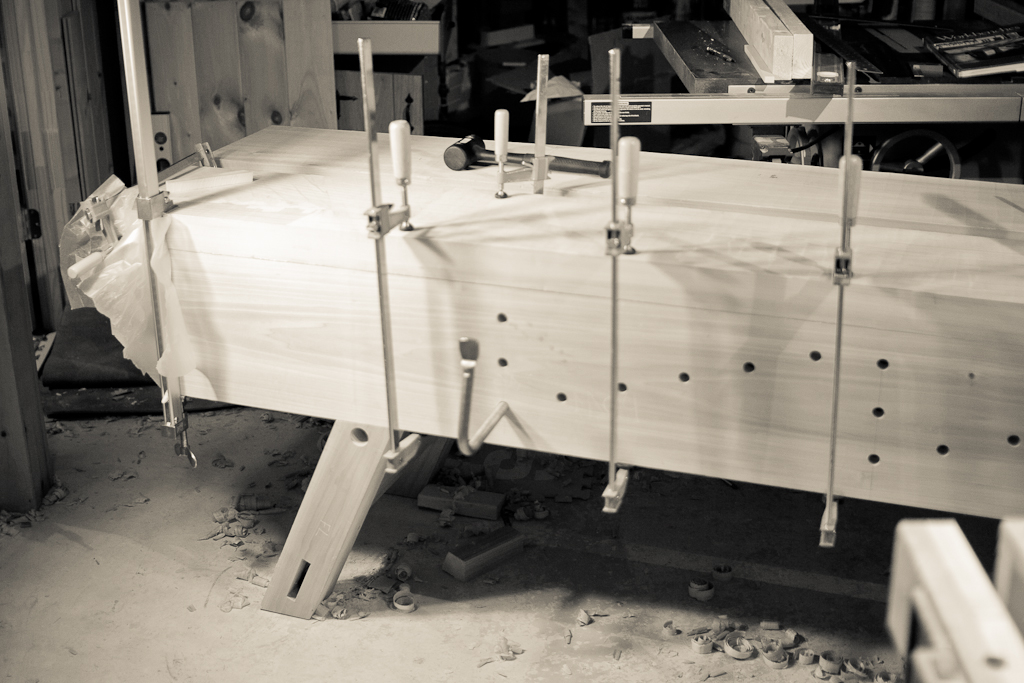
Finally. Last night I milled up the last screw block and attached it to the right side leg assembly. Once it was secure, it was time to start gluing on the top!
To account for seasonal wood movement, I’m only gluing along the apron and the first couple inches of the screw block and top leg stretcher. Once the glue it dry, I’ll spelunk down under the bench and screw in the middle edge with a deck screw, into an elongated hole. That way, the top can move a bit in width and not ruin the whole bench.
Tonight I’ll pull the clamps and glue up the other side of the top. I guess I could have done both sides at once, but alas, I don’t have enough clamps.
Oh, and I finally came up with a name for this thing: The Thickolson.
For a while, I’ve been mulling over how to take the 12/4 14″ poplar board and get it down to the 11 1/2″ board I need for the top. My initial plan had been to do the rip on my table saw with a rip blade. Poplar is pretty soft and with a good ripper, I was confident I could manage it. However, pushing a board of this size through a table saw is no mean task. After a few trial runs with supports in place, I realized I was in a bit of a pickle.
See, this board has a fair bit of wind in it. When you run a board through a table saw, you want the face that’s touching the table and the face that’s riding the fence to be flat and square. Otherwise, as I quickly found out on the dry runs, the board will cast away from the fence during the push. With a board this size, I elected not to take any risks. I could either flatten the board out and then run it, or rip the sucker by hand.
After taking a few exploratory passes with the fore plane, I determined that I could save a fair bit of thickness by ripping the board before flattening it. So, off to the races.
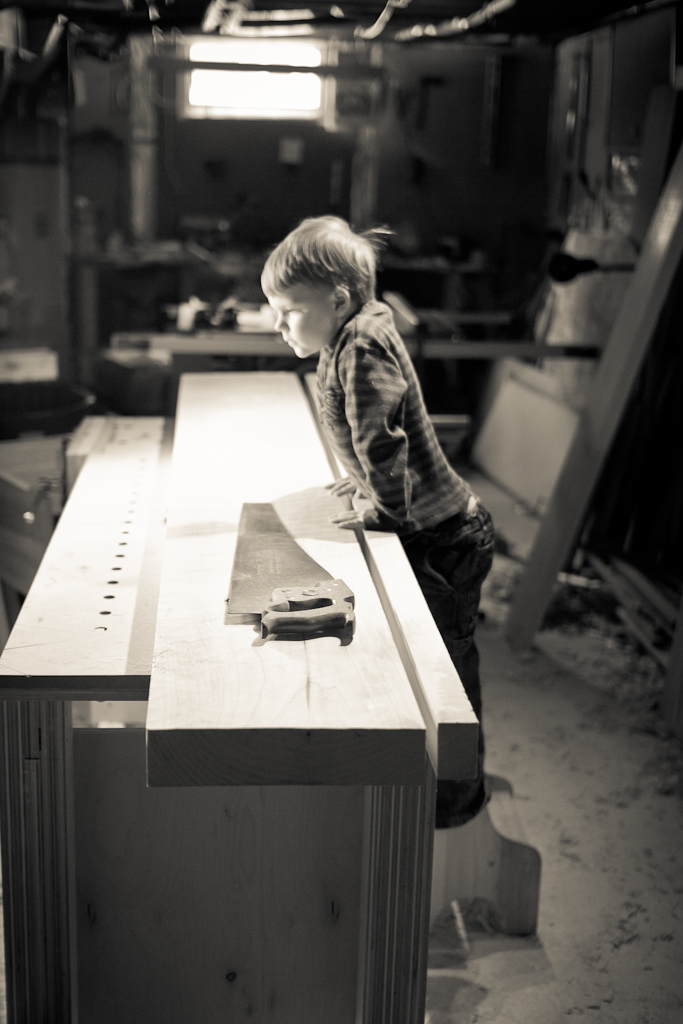
I started out over the board, in the classic ripping posture, but my back and shoulder quickly decided this was a bad move. The position that really worked for was standing next to the board with it clamped to my existing bench, blade facing away from me, just like in this video by Chris Schwarz:
It takes a while to get the hang of how to apply pressure the blade in this setup and to work out a rhythm. I laid out some marks every six inches to get an idea of how fast I was going; in the beginning I was doing about an inch a minute and by the end I’d about doubled that. All in the all, the rip took about hour of effort, with a bunch of breaks for water, rest, and to gauge my progress.
I did find that, for whatever reason, keeping the blade plumb in the stand-on-the-side configuration was much much easier. I think I just need to practice more with the “classic” posture, but it was pretty sweet to see that nice square 8′ long rip once I was done.
Despite the lack of updates, I’ve been working on the new bench pretty consistently. Since last time, I’ve finished up both leg assemblies, drilled a hole for the vise clamp and drilled out the mortise for the parallel guide. All that took about a week of two hour nights.
A few nights ago, I took on flattening the inside of both aprons. They’re 11″ x 7 1/2′ boards, so it’s no small task.
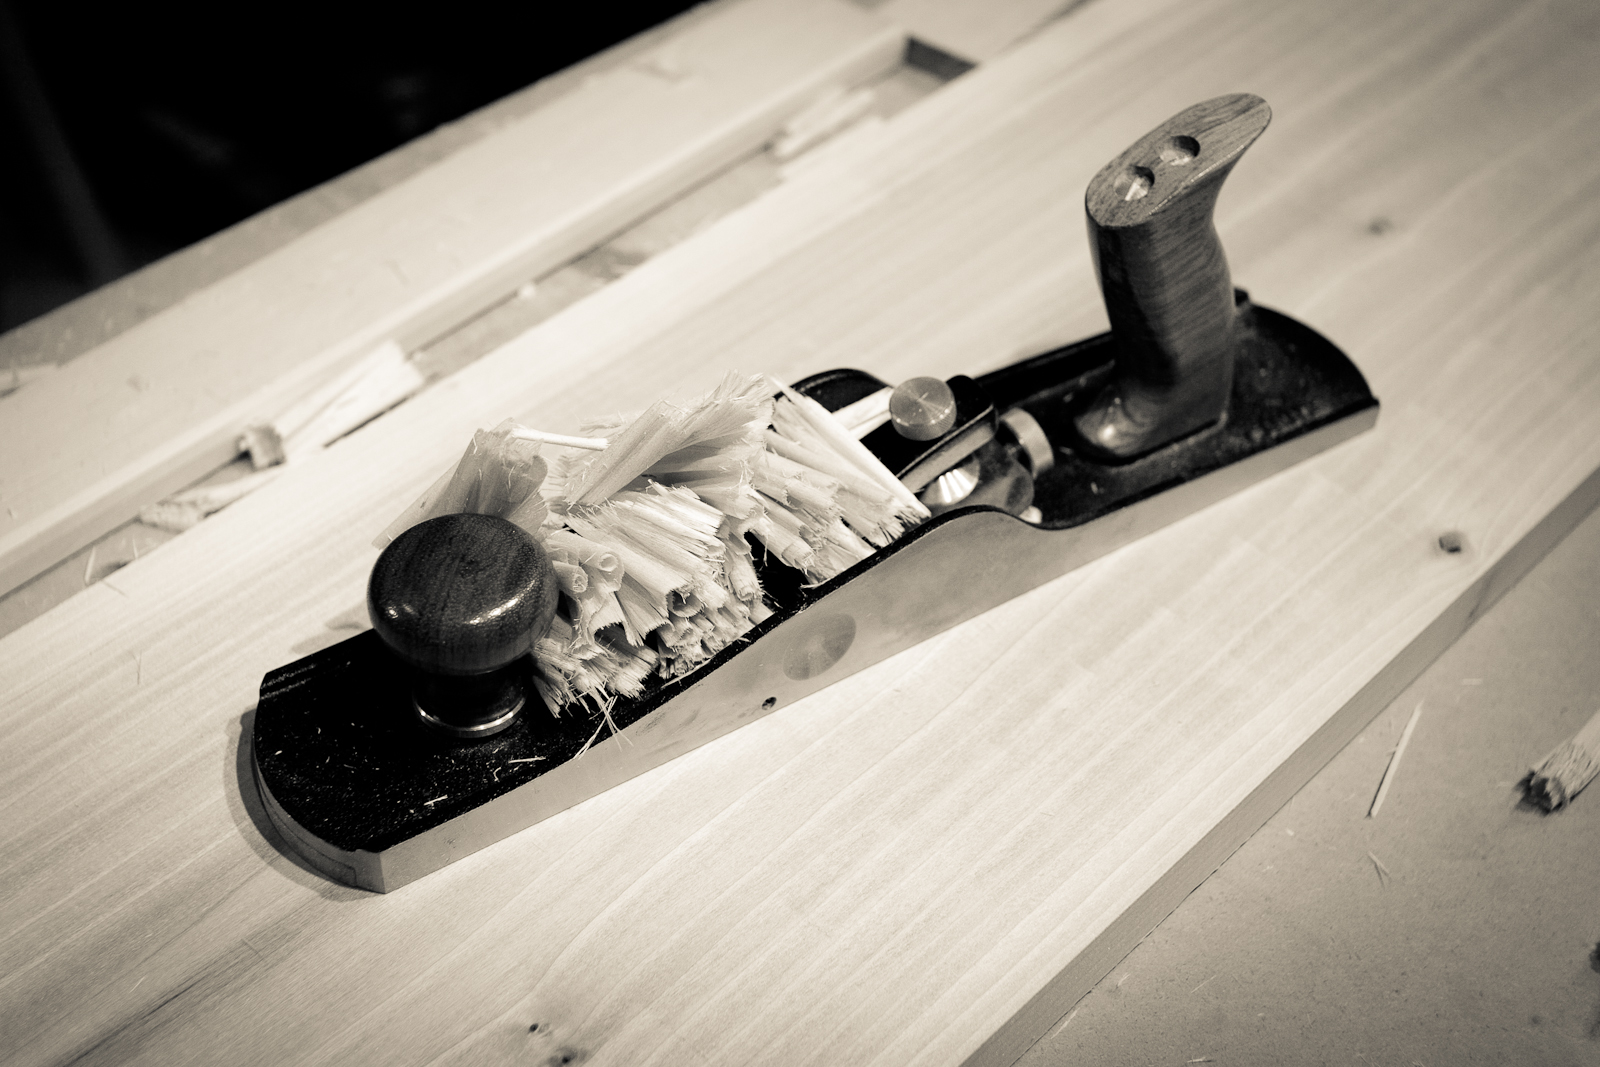
Pretty cross grain shavings
Lots and lots and lots of cross grain shavings later, I had a great workout and I had a couple flattish aprons. There’s a bit of cup in one apron that I’m not going to pull out, it would thin out the board too much, and I had a hunch I could clamp it out when I attached the aprons to the leg assemblies. Which, brings us to the last couple nights. Now that the last apron is in glue, I can look forward to ripping the top pieces down to width, flattening them out and attaching them to the bench.
Oh, and I have to figure out how to get the new bench off my current bench. It’s … heavy.
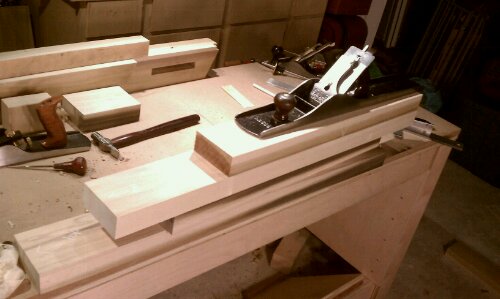
Love that little vacuum you get between two boards when they’re really flat. I think I’m getting the hang of milling lumber. It’s going much faster now, only an hour and a half for these four. It took me an hour each the first time.