Apparently the plates have been made and the books should arrive at distribution on the 23rd.
I can’t wait.
Apparently the plates have been made and the books should arrive at distribution on the 23rd.
I can’t wait.
But here’s the other thing that’s important: Their tools were different. To the uneducated eye, the tools of the 17th and 18th centuries look crude. But have you ever examined an 18th-century moulding plane that wasn’t dogmeat? I have. They are refined to a level that exceeds many modern tools.
Everything extraneous has been taken away. Everything necessary is right where you need it and is easy to manipulate.
From Chris Schwarz’s upcoming book The Anarchist’s Tool Chest, available for pre-order now.


Almost there. Since last time, I have
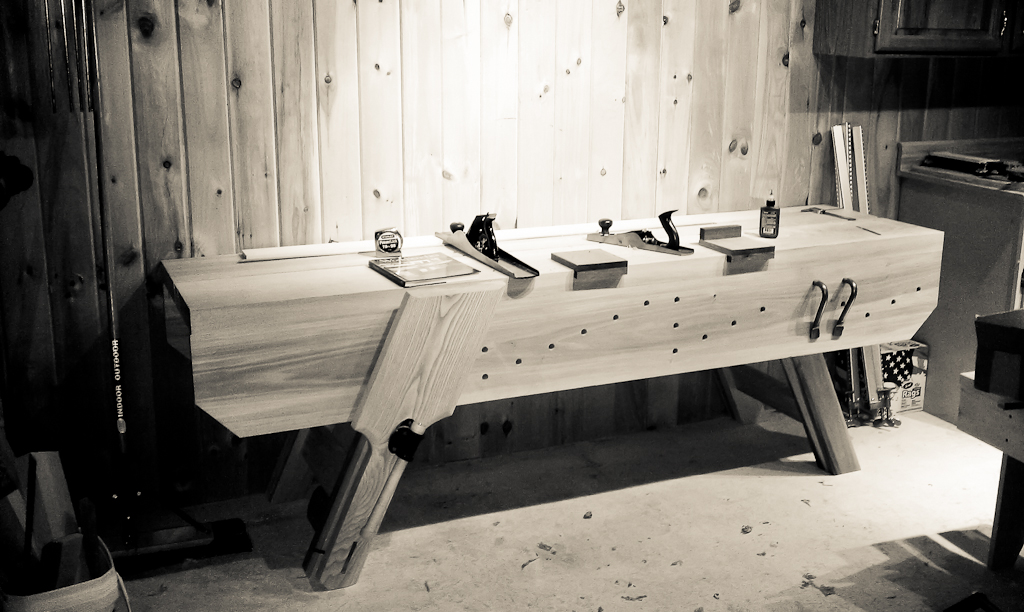
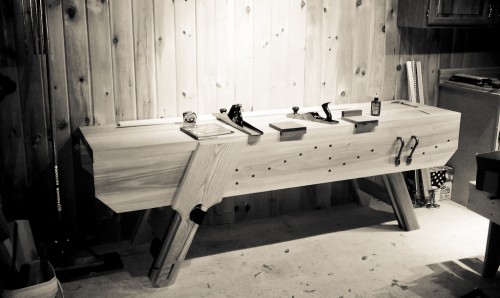
What’s left? Not much at this point. I’ve got a planing stop all set, I just need to cut the mortise in the top. I’m debating where to put it though. I did a little playing around with it and I think I’m going to end up with it about 5 inches in from the front edge and a few inches behind the back of the leg vise. There’s a support under there I have to be a little careful of, and I don’t want the leg vise to get in the way.
Otherwise, I need to mill up a board or two to fit in the ½” gap between the top boards. I have a suitable piece of poplar that just needs to be thinned up a bit to fit. I also need to drill all the holes in the top for the holdfasts. I emailed Chris Schwarz for advice on placement; he advised holes across the back based on the reach of my holdfasts (I use the Grammercy Holdfasts) and a hole near the front to allow the holdfast to reach over a bench hook and secure work there for sawing.
Last, I’m debating adding a tail vise, using an old quick release vise from my last bench. To do it, I need to square up the right end of the bench properly, which is a little tricky as it’s end grain.
The top glue-up was uneventful, though it revealed that I had a nice little ¼” bow and cup in the two aprons. The cup was in the front apron and was relatively easy to pull out with a fore plane. I flipped the bench on it’s side, pushed it up against the wall feet first and treated it like a bench top. I ended up with a cross-grain situation between the top’s edge and the apron itself, but working cross grain it didn’t end up being too problematic. At the end, the apron wasn’t perfectly flat, but it doesn’t need to be.

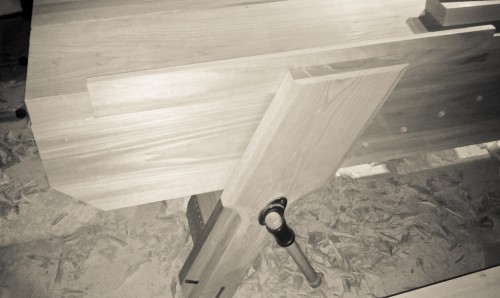
Moving on, making the front vise was pretty fun, though I had another oops moment. I milled up the 8/4 Ash, laid out the curves on the bottom and went to work with a rip handsaw and a bow saw. For the chamfer, I used a block plane, spokeshake and a couple rasps for the curved bits. It’s amazing how well the rasps worked for cutting the curved chamfer.
And then I had my uh oh moment. The vise chop includes a parallel guide that fits into a mortise in the chop and slides through a mortise in the bottom of the front leg. Well, once I had these nice curves on the front, laying out the through mortise gets… interesting. Usually you would mark the mortise on one side, then transfer your lines around the board to the other side. Then you chisel in from one side, then the other and meet in the middle. This works well assuming you work from a reference edge towards both mortises where both faces are perpendicular to your reference edge.
After I made the vise chop all shapely, I no longer had a reference edge. Yikes. Lesson learned: lay out joinery before cutting shapely curves.
I figured, well, it’s a bench; it doesn’t have to be perfect. So I sat the chop on the leg, outlined the mortise in pencil and laid it out with a knife. Then I just went to town with a brace and bit and cleaned it all up with a chisel and a four square block to make sure my mortise was 90 to the inner face of the chop. I stuck a waste board under the other face of the chop so I had something to chisel into, in an attempt to prevent blowing out the opposite end of the mortise. It mostly worked. The through mortise is a little gappy on the show face, but it’ll be a good reminder. I glued it, wedged it, and called it done.
Installing the vise screw was trivial. Mark the hole, cut the hole, screw on the vise, mount with the provided screws.
Now to start figuring out what kind of tool storage I want on that nice blank chunk of wall.
Well, that was fun.
I went to my first woodworking show over the weekend, right here in Saratoga. The Northeastern Woodworkers Association hosts their showcase here every year. It’s part gallery, part lecture series and part vendor space and a ton of fun. I caught the two talks by Chris Schwarz, editor at Popular Woodworking and the two talks by Peter Follansbee, a 17th-century furniture maker at Plimoth Plantation. All of the talks were great, educational and entertaining. We even got to cook some chisels with a hand crank grinder in Chris’ last talk and see Peter wield a hatchet and froe in a hotel conference room. Fun stuff.
I also finally got to meet some of the other woodworkers I chat with over on Twitter and a bunch of other online woodworkers. In fact, most everyone who attended this thing was friendly, glad to talk about wood working and generally pleasant to be around.
Can’t wait for next year! Though now I may have to figure out how to convince Mandy to head to Cincinnati for Woodworkers in America in October.

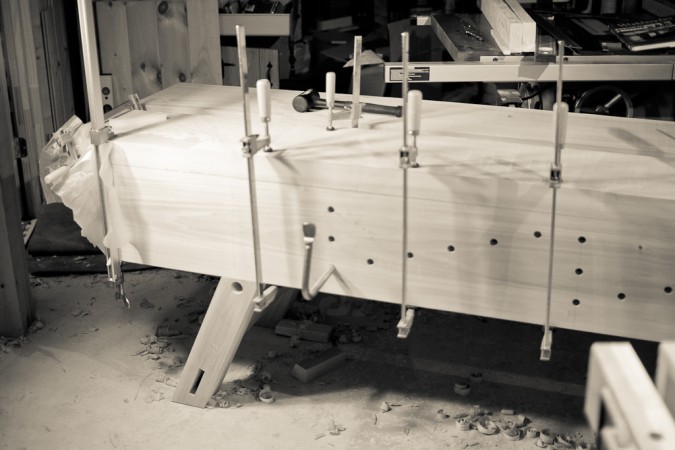
Finally. Last night I milled up the last screw block and attached it to the right side leg assembly. Once it was secure, it was time to start gluing on the top!
To account for seasonal wood movement, I’m only gluing along the apron and the first couple inches of the screw block and top leg stretcher. Once the glue it dry, I’ll spelunk down under the bench and screw in the middle edge with a deck screw, into an elongated hole. That way, the top can move a bit in width and not ruin the whole bench.
Tonight I’ll pull the clamps and glue up the other side of the top. I guess I could have done both sides at once, but alas, I don’t have enough clamps.
Oh, and I finally came up with a name for this thing: The Thickolson.